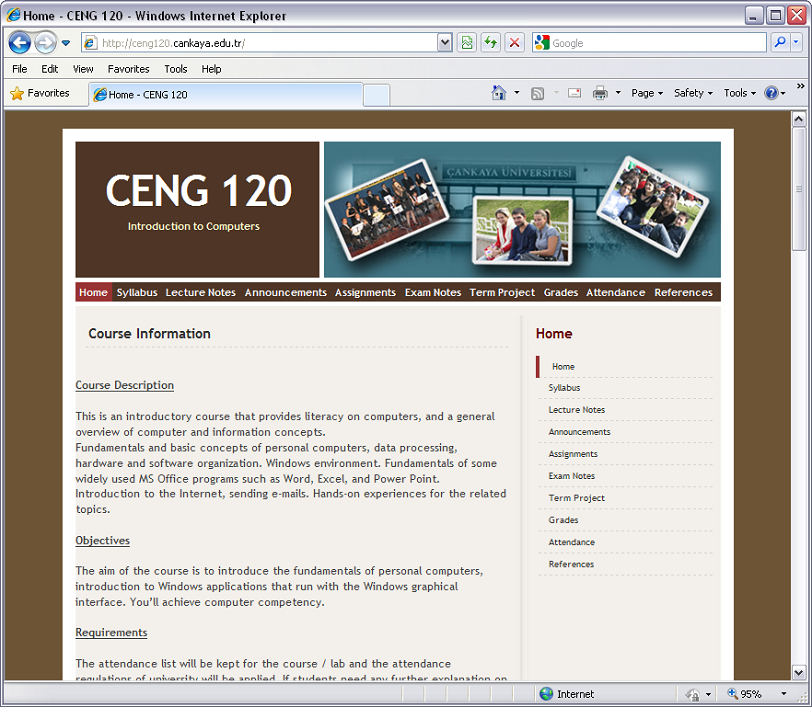
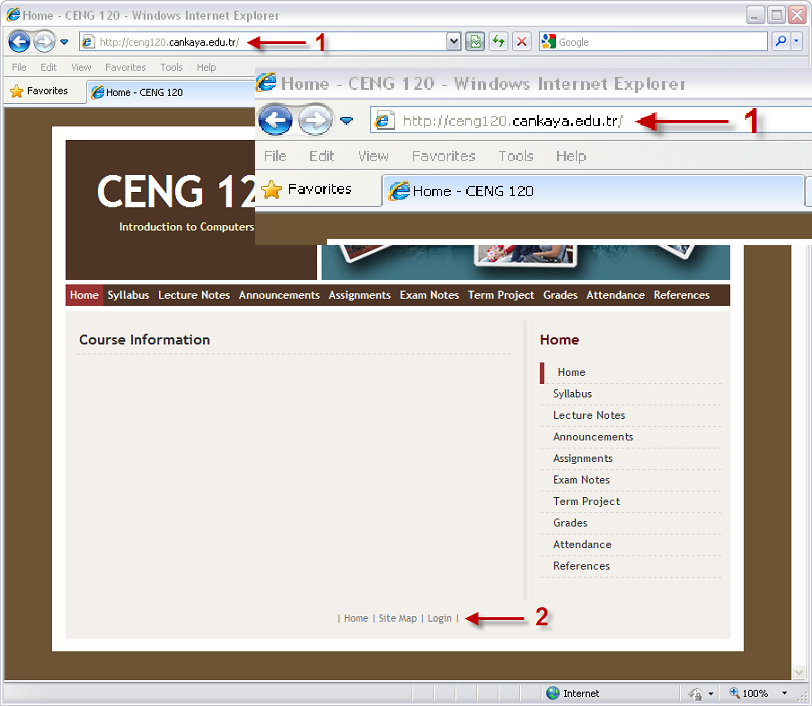
Open your web browser, and enter the address of your course, which is the course code in lower case and without the spaces and “cankaya.edu.tr” as its suffix, eg: CENG 120: ceng120.cankaya.edu.tr (1) “Login” to enter administrative mode, which enables you to edit the contents of the page and also gives you the rights to change the general look of the pages (2)
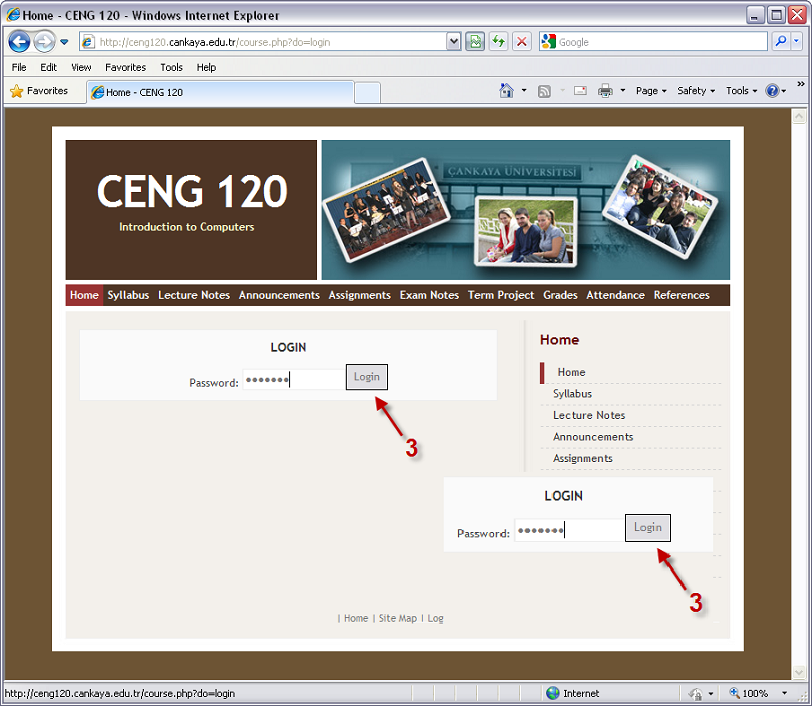
Enter the password given to you and clik “Login”.

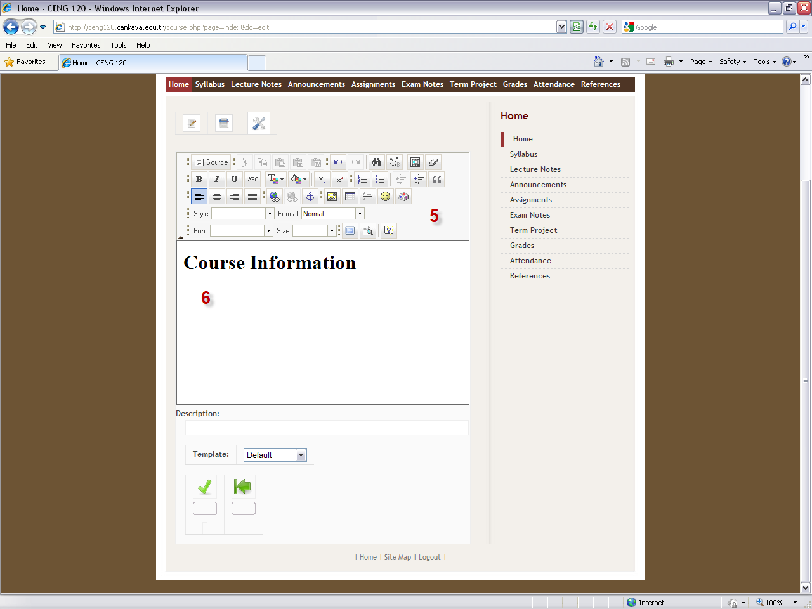
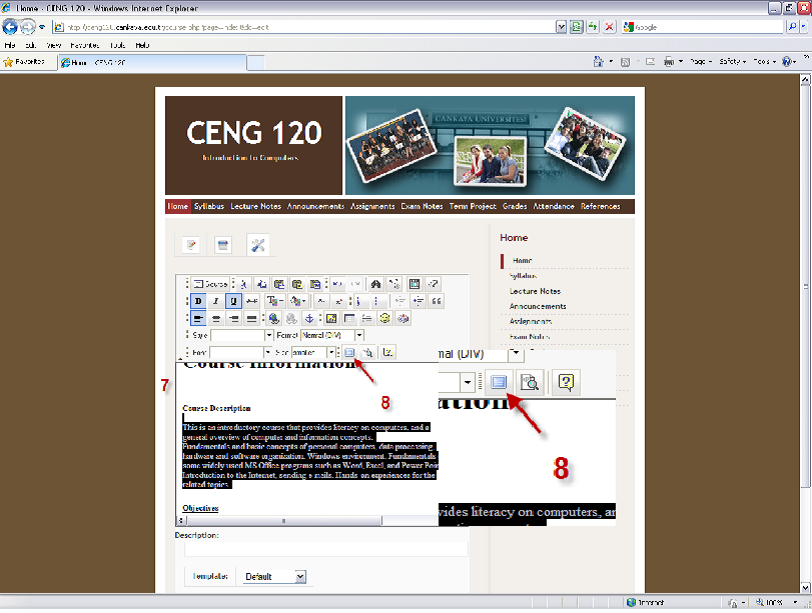
Upon entering the page in administrative mode, select the page you want to edit from the predefined links which appear depending on the template selected either on the top, right or left of the page. In the example, the links appear on the top and on the right side of the page, and the active page is “Home” (check right side of the page).
Note the 3 icons above “Course Information”.
The first one enables you to edit the page you’re on (4).
The second one enables you to delete the page you’re on, but in case the page is one of the main pages, which come by default, you’re not allowed to delete. But you may delete any pages you’ve added under these main pages.
The third icon takes you to the “Site Administration” page, where you can make changes to the general layout of the pages, add pages etc.
In the edit mode, you can edit the page, as if you’re using any Word processing program, like Microsoft Word (5). If you have the information to be published on the page already stored in some file, you can copy the text from there, and paste it in the given space (6).
If you find the editing space to narrow, and would like to have a bigger workspace, you can click on the icon shown in the below picture (8). It will immediately maximize the editor size, only the edited area will be visible, whereas the rest (7) will dissapear during the editing time.
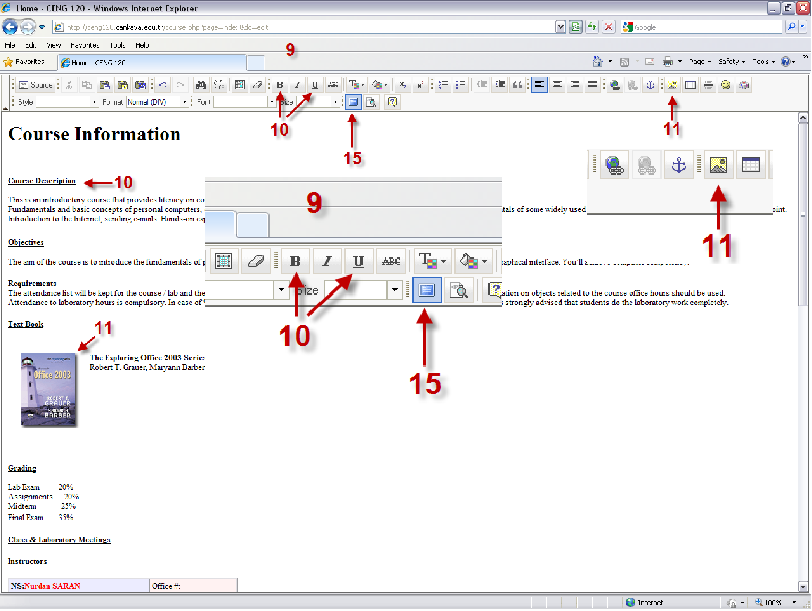
This editor (9) can be used like any word processor. For example, you can make the font bold and underline (10) if you need. You can insert an image anywhere in the text (11). If you want to exit the fullscreen mode, and minimize the editor, press the icon shown below (15).
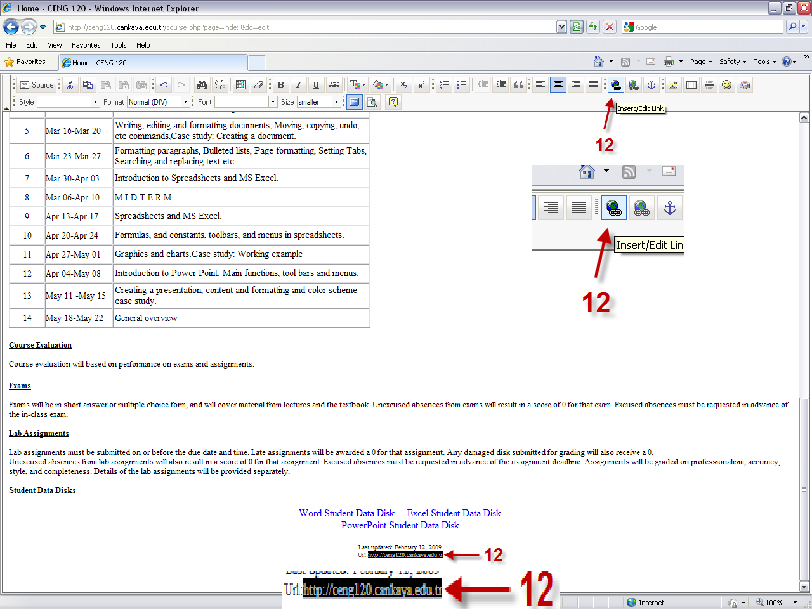
If you want to insert a link to some webpage, select the text which will keep the link (12), and press the “Insert/Edit Link” button (12).
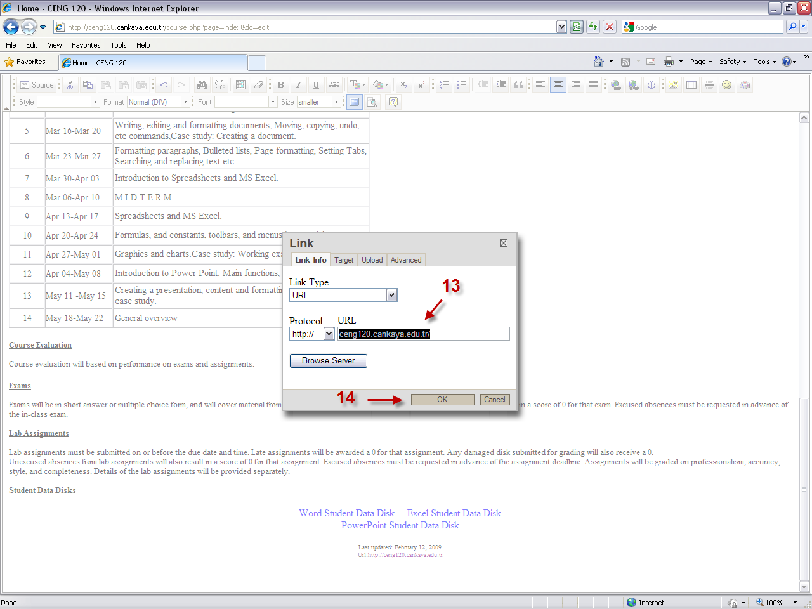
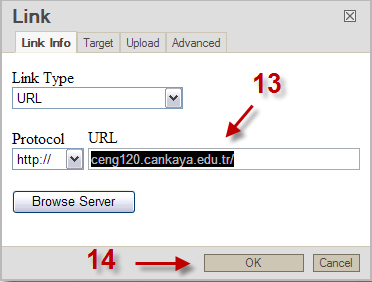
In the opening dialog box, enter the address of the page you want to link to (13), and click “OK” (14). The link will be immediately ready. If you want to edit a link that was previously given, you can use the same button.
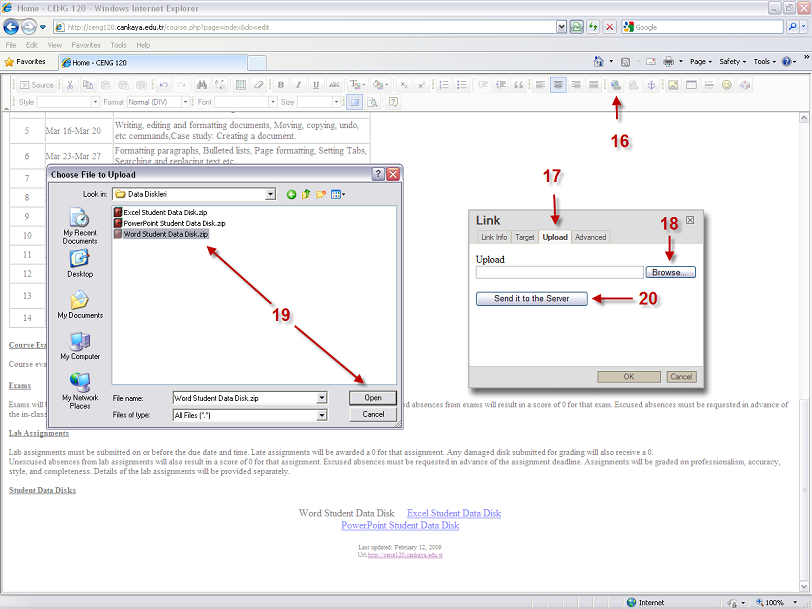
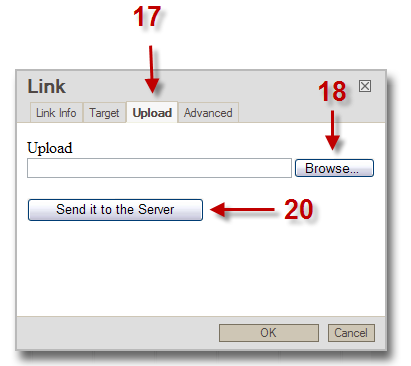
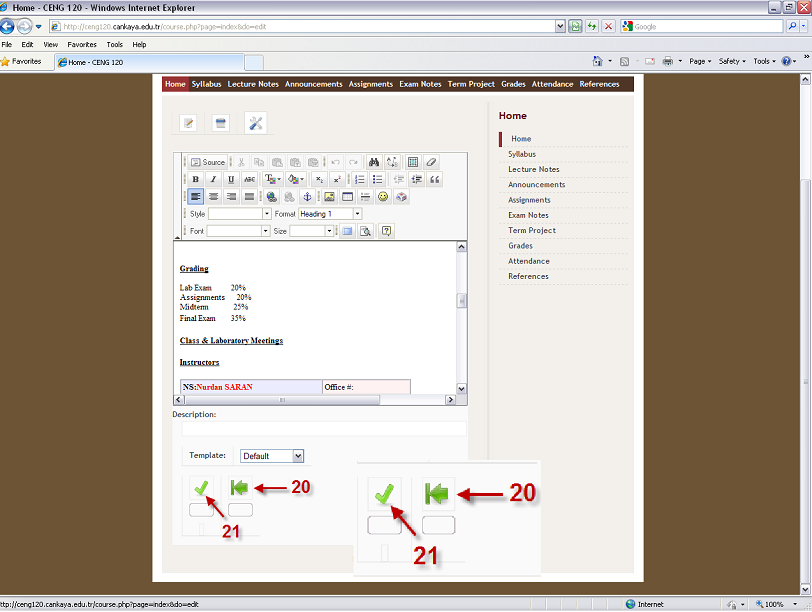
If you want your students to download some files from your course pages, you can again use the same “Insert/Edit Link” button. Select the text you want to link to the file, click the “Insert/Edit Link” button (16), select the “Upload” (17) tab in the opening dialogue box. Click “Browse” (18) and another dialogue box will open. Select the file you want to link to (19) and click “Open” (19); the window will close. Click the button saying “Send it to the Server” (20).
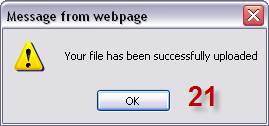
A small dialogue box will appear, stating the transfer was successful (21).
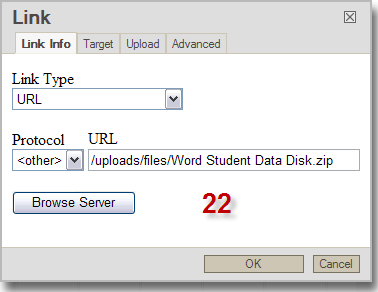
Click the first tab of the remaining window, and check if the link to file exists (22).
In order to save the page, click the tick (21). If you do not want the page, and cancel your last changes, click (20).
After finishing editing, and logging out, you can see, what your page looks like. If you want to have a look at an working example, please check the following address: http://ceng120.cankaya.edu.tr